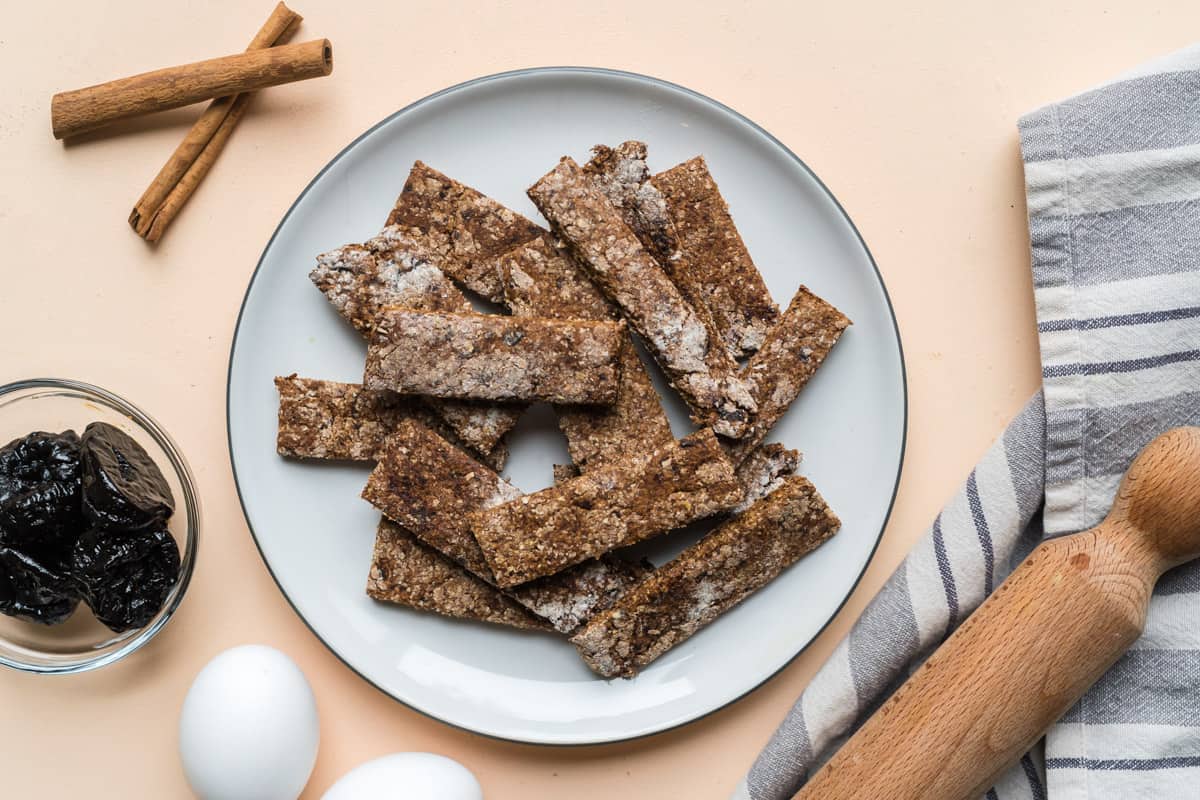
Homemade Teething Biscuits
There are a lot of teething crackers in the baby food aisle, but we have a feeling you'll love our recipe because it's made with whole foods and we cleverly use iron fortified infant cereal to make sure your baby gets in a bit of iron!
This post may contain affiliate links.
⭐⭐⭐⭐⭐
"These have been absolutely amazing. My 7m teething baby loves these. They keep him happy and chomping away for ages." - Katie
This recipe took a bit of trial and error but we finally nailed it! The secret ingredient is…prunes! Yes! Prunes are great for digestion but also lovely in baking because they add a bit of natural sweetness.
Speaking of digestion, don't forget that as your baby is transitioning from a liquid diet to a solid food diet, there will be changes that take place. Some babies might poop more or less often, others might pass a bit more gas and for some babies, they just flow normally!
You'll notice this recipe doesn't contain any added sugar, and that's because babies don't need sugar--it crowds out their need for other important nutrients. But, once you enter toddlerhood things shift and you can weave in a bit more sugar (but, not too much) into their diet. That's when you'll want to make these animal oat crackers or peanut butter blossoms. Both of these cookie recipes are delicious, we'd argue nutritious and super fun.
Now let's get into this recipe!
Why this recipe works
🕒 15 minute prep time
🍑 Naturally sweetened with prunes
🖐️ Firm enough to gnaw, dissolves in the mouth
💪 Includes iron-fortified infant cereal for growing bodies
🍪 Easy-to-grip shape for little hands
❄️ Freezer-friendly for teething days
Travel friendly for road-trips and flights
👶 Designed for babies from ~6+ months
SUMMARIZE AND SAVE THIS CONTENT ON:
Jump to:
- Why this recipe works
- Key ingredients (& why they matter)
- Allergen information & substitutions
- How to make these homemade teething cookies
- How to serve these teething biscuits at each baby stage
- Recipe FAQ
- Play + books that match this recipe
- Other recommended baby led weaning recipes
- Homemade Teething Biscuits
- Allow us to ease your mind...
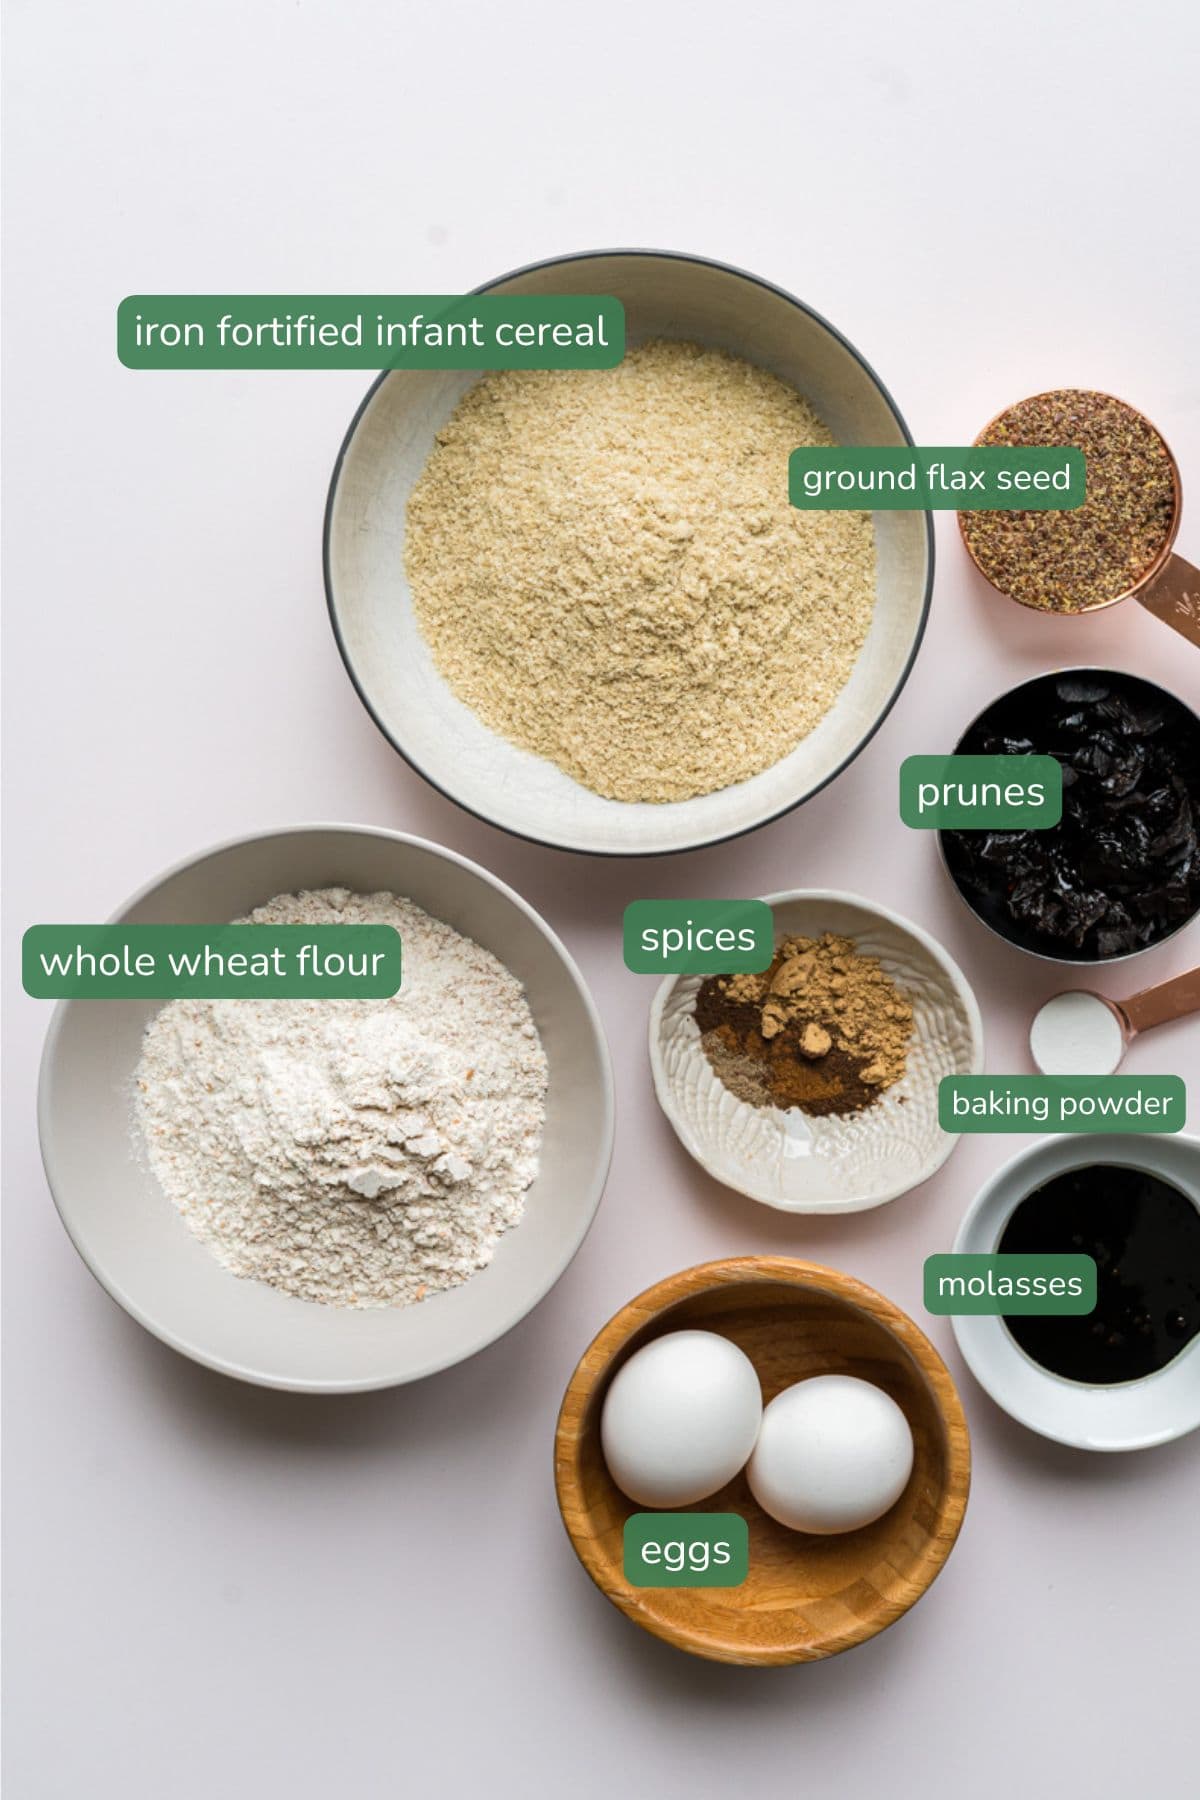
Key ingredients (& why they matter)
Iron Fortified Infant Cereal: Babies have uniquely high iron needs! They need 11mg of iron a day once they turn 7 months. For perspective, a grown male needs 7mg. So this means a baby needs 1.4x more than a male adult! Yowza.
Iron fortified infant cereals have (surprise, surprise) iron added to them. Interestingly enough, this was a Canadian invention that came from a world recognized hospital, The Hospital for Sick Kids in Toronto. While this happened in the 1930s, now the principle of fortifying cereal with iron is a global practice to help prevent iron deficiency. Using infant cereal in fun ways such as for baking helps to elevate iron intake, that's all!
Blackstrap Molasses: We encourage you to specifically seek out blackstrap molasses for these baby teething cookies. This is because blackstrap molasses is more concentrated in minerals such as iron, calcium, and magnesium, and has a lower sugar content.
Ground Flax Seeds: These are small but mighty! Ground flax seeds contain fibre and omega 3 fatty acids, which are important brain, eye, and skin health.
Prunes: Adding some dehydrated plumes, aka prunes, adds a bit of natural sweetness and helps to keep things moving (if you know what we mean!). When babies start solids, sometimes they experience constipation so we wanted to include ingredients like prunes and ground flax seed for constipation prevention.
Eggs: We like to add eggs in to our recipes at nearly every opportunity we can get. Not only are they densely nutritious, since eggs are a top allergen in infancy, it's important to keep repeatedly offering eggs to babies to keep up the tolerance.
Allergen information & substitutions
This recipe contains both eggs and wheat. While we haven't tested the substitution ourselves, you can likely swap out the egg for a flax egg. Learn how to make a flax egg here!
For the latest recommendation on introducing food allergens to babies, visit the allergy lesson in our ecourse Start Solids Confidently!
How to make these homemade teething cookies
The full recipe is below, but here are a few key steps to visualize the process.
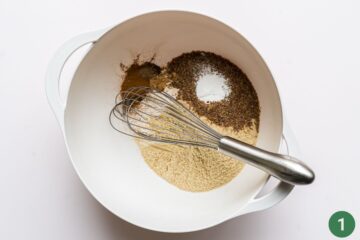
- Whisk together the dry ingredients in a large mixing bow.
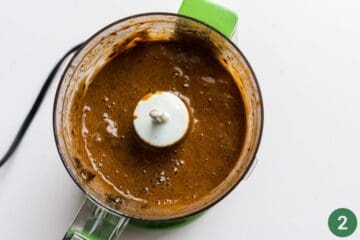
2. Blend the wet ingredients together either in a mini food processor, blender, or immersion (stick) blender. It's okay if there are still small bits of prunes. It doesn't need to be a smooth, homogenous mixture.
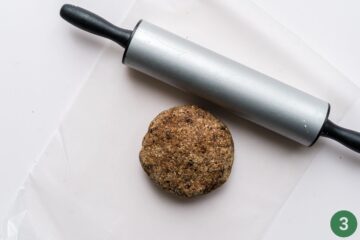
3. Stir together the wet ingredients into the dry ingredients. Then form the dough into a disk and roll out in between sheets of parchment paper with a rolling pin until it's about ¼ inch thick.
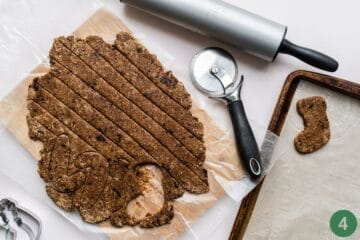
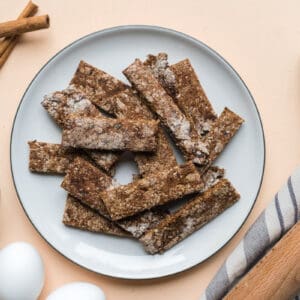
4. The dough for the homemade baby teething cookies is now rolled out. You can either cut into strips using a pizza roller or use cookie cutters.
How to serve these teething biscuits at each baby stage
4-6 months: This recipe is not suitable for a baby at this age.
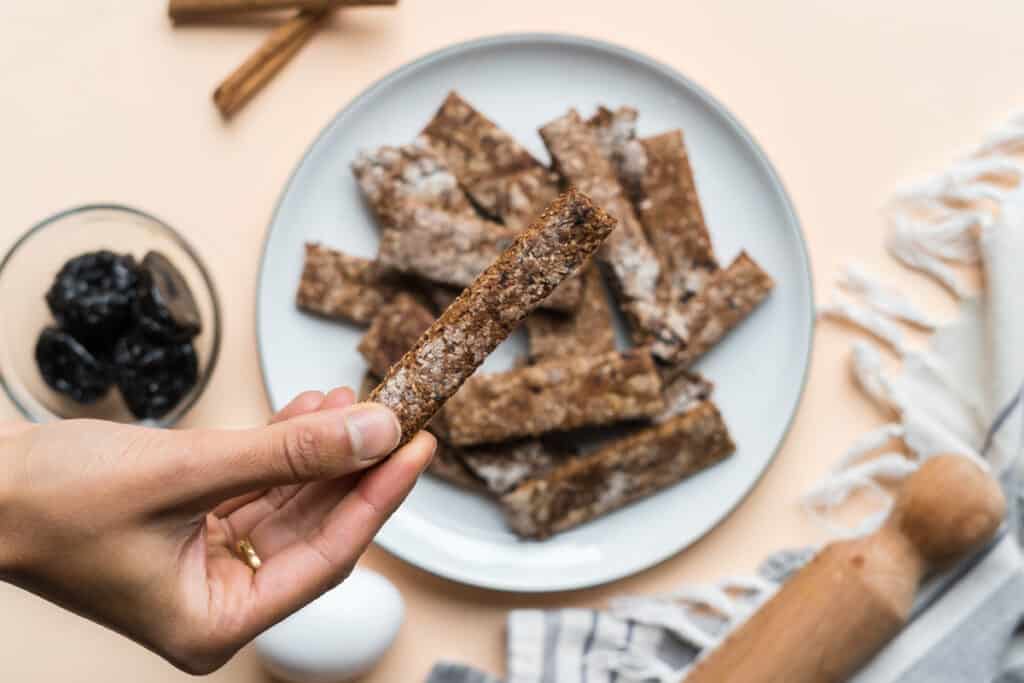
6-12 months: Shape or cut into strips that are about 1 inch wide and 4 inches long. Ensure that it's baked long enough so that it dissolves in the mouth. It's on the hard and dry side, mostly because we wanted to create a final product that dissolves as your baby gnaws on it. In their mouth, babies have amylase which is an enzyme found in saliva. This enzyme helps initiate digestion.
12 months+: Your toddler will likely continue to enjoy these nutritious biscuits, even when they aren't teething.
For the rest of the family: Don't be surprised if you try one of these cookies and find yourself enjoying a tasty snack 🙂 We always snag a few for ourselves when we make a batch!
Looking for another nutritious soft snack your baby can hold and chew? Try our baby friendly chilla.
Recipe FAQ
We recommend slicing it into rectangles that are slim so that your baby can insert the biscuits in the side of their mouth and gnaw down on it. If the biscuit is cut into a wide circular shape, that might make it challenging for your baby to insert it into their mouth.
Place the biscuit on your baby's tray table. If your baby isn't picking it up or feels a little lost then place the biscuit in their hand and close their fingers. You can also enjoy a biscuit with your baby to model eating.
You want to achieve a fairly hard, dry texture. When your baby puts the cracker in his or her mouth, the saliva will dissolve the cracker, allowing for easy swallowing. You can test this out by placing a cracker in your own mouth and without chewing, see if it dissolves nicely.
If the cracker is soft and gummy, it can pose as a choking hazard.
Since they're hard and dry, you can store these in the pantry. If they soften up, simply pop them briefly into a toaster to dry them out again.
Alternatively, you can prepare a batch ahead of time and freeze them. Then, when a tooth is poking out, you can offer it to your baby or toddler.
Yes, in fact they make for a great road trip or flight snack! Since this recipe does not contain preservatives, it's obviously not going to be shelf-stable for too long, so if you're traveling keep these in a cool place or in a freezer once you get to your final destination.
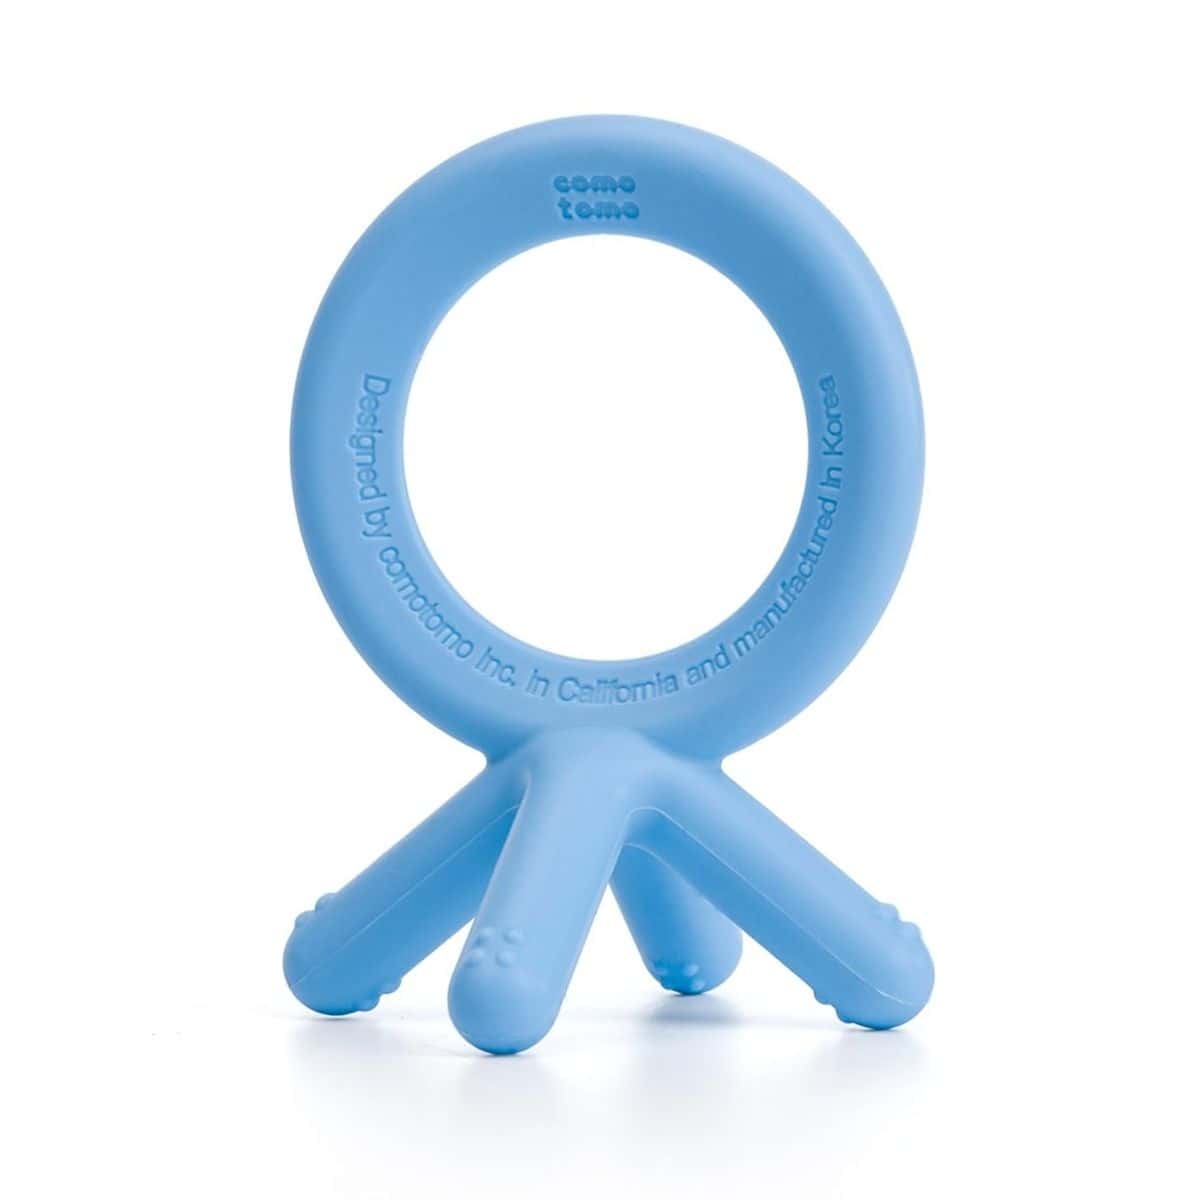
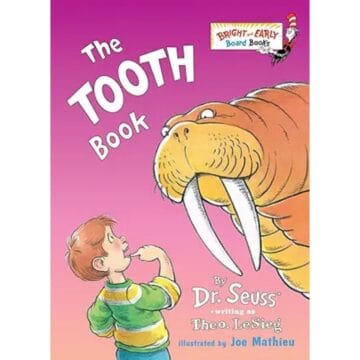
Play + books that match this recipe
Did you know? Teether toys are not just to help alleviate sore gums! Teethers also help babies map out their oral geography, which helps them learn how to chew and manage different textures in their mouths! Here are some of our favourite teethers + books about teeth!


Other recommended baby led weaning recipes


We hope you enjoy this recipe as much as we have. They are a great and healthy alternative to what might be found in grocery stores, plus, a fraction of price.
Lastly, if teething is making solids harder to manage some days, this papaya banana smoothie can offer hydration, nutrients, and the cold texture can ease the pain of the gums.
If you tried this teething cookie recipe or any other recipe on our blog, please leave a 🌟 star rating and let us know how it went in the 📝 comments below. Thanks for visiting!
Homemade Teething Biscuits
Ingredients
- 1 cup whole wheat flour
- ¾ cup iron fortified infant oat cereal see note
- ⅓ cup ground flax seeds
- 1 teaspoon baking powder
- ½ teaspoon cinnamon
- ½ teaspoon ginger
- ¼ teaspoon allspice
- ¼ teaspoon ground cloves
- ½ cup prunes
- 2 eggs
- 1 tablespoon blackstrap molasses
Instructions
- Preheat the oven to 350 degrees Fahrenheit.
- In a medium sized bowl, whisk together the flour, infant cereal, flax seeds, baking powder, and spices.
- Remove any pits from the prunes.
- Place the prunes, eggs, and molasses in a mini food processor and blend until semi-smooth.
- Stir the wet ingredients into the dry. Roll up those sleeves and use your hands to mix everything into a smooth dough.
- Place wax or parchment paper on your counter and sprinkle some flour on it.
- Place the dough on the paper then flip it over to flour both sides.
- Sandwich it with another piece of wax paper on top.
- Roll until ~¼" thick. If you notice the dough sticking to the paper, then flour it a bit more.
- Cut into strips or use your favourite cookie cutter shapes to cut out the cookies. Re-rolling the dough with the scraps leftover from the cutouts.
- Bake for 15 minutes. Turn the heat down to 300°F. Flip each cookie over and bake another 10 or so minutes. The cookies are done when they are hard and no longer dough-y.
- Keep the cookies in the cupboard or freezer and lightly toast before serving to your baby!
Video
Notes
Nutrition
Allow us to ease your mind...
We know that starting your baby on solids can feel overwhelming and you may have other worries such as…
- I'm afraid my baby will choke!
- I'm afraid my baby won't be getting enough of the right nutrients!
- I'm afraid my baby will have an allergic reaction!
- I'm afraid my baby is not eating enough… too much!
- I'm afraid my baby will be a picky eater!
We've created a FREE guide for you to address these fears and most of all, help you work through them! Just enter your email below and you'll get the guide sent to your inbox.


Excellent recipe. My baby loves them and I love how long they last while she chews away. HOWEVER, I have found they need way less time in the oven than the recipe says. With some trial and error I’ve found (at least for me) they need about half the bake time indicated in the recipe.
Hi Renee, thank you for the feedback on the recipe! We will adjust the recipe and make a note about baking times. It's really wild how varied ovens can be!
we don't have molasses in our pantry, is there a good substitute you would recommend?
Hi Irma, unfortunately there really isn't a substitute for the molasses. The stickiness is key and other sticky ingredients such as honey or syrup are not suitable at this age!
Hi ,
Just to confirm, cookies should be rolled out to a 1/4 inch thickness , correct?
And cookies should be baked for a total of 25 minutes? Mine turned out a bit burnt so just trying to figure out where I can adjust.
Thanks in advance
Hi! Yes, the cookies should be rolled out to at 1/4 inch thickness. And thanks for letting us know how your cookies turned out. Each oven is going to be different so you could adjust and bake for a shorter time in your oven or maybe even try baking at 350 instead of 375. You don't want them burnt but you do want them to be fully baked and dissolve in the mouth. You don't want any gummy texture.
We love these and make them all the time! I agree with all of the baking temp/time reviews but have perfected the recipe now as follows:
Bake at 300 degrees for 10 minutes. Flip and bake another 10 minutes. Continue to flip and back every 5 minutes until the cookies are dry to the touch. They will get even harder as they cool. This usually is 30 min total bake time.
Thank you for sharing your tried and true technique! It seems like every oven is special in its own way 🙂
My baby LOVES these. So much so she insisted on the biscuit serving as her spoon tonight at dinner. 🙂 I cooked at 350 for the suggested time.
Can I sub out the cereal for oat flour?
Yup - it will just be lower in iron!
I've been making these as lot, both my 1 yr old and 3 yr old LOVE them! I agree with some other comments about less baking time, but overall would say this recipe is very reliable and delicious.
Glad to hear that the teething biscuits are also a hit!
About to make these, and excited they are 3 allergens in 1 to help keep exposure regular! Have you added peanut butter to the recipe? Also, how are we toasting them before serving?
We hope your baby enjoys them. We haven't tested it with peanut butter but I suppose you could smear a thin layer on top? You can retoast on a pan or in an airfryer for a very short time!
Can you use a pouch of prunes instead?
It might work, but we haven't tried! Your baking time might need to be adjusted since this is a more wet ingredient. The end result should be a HARD biscuit!
These have been absolutely amazing. My 7m teething baby loves these. They keep him happy and chomping away for ages.
I would agree that they need less baking time, but that’s the joys of different ovens!
Thanks for that feedback! You're right, different ovens make it tricky but we always want people to keep an watchful eye. So glad your 7m old babe is enjoying the recipe!
Amazing recipe for a homemade option!
My baby loved these! So did my mom actually she ate them like biscotti haha great recipe!
Love that grandma got to get in on these LOL.
Was hoping to make these for my baby, but she has a wheat allergy. Would GF flour work the same, or should I use oat flour?
While we haven't tried it, we believe a GF flour might work! 100% oat flour might result in something very crumbly!